Maintaining your property throughout the changing seasons often feels like a race against the calendar. As late autumn settles in, the outdoor to-do list grows rapidly, from servicing yard equipment to clearing gutters. Among these crucial chores, inspecting the perimeter barrier is frequently overlooked until a January blizzard exposes every hidden weakness. A backyard fence does far more than define your property line; it shields your garden from harsh winds, keeps pets secure, and provides privacy. When freezing temperatures, relentless moisture, and heavy snow collide with neglected timber or hardware, minor flaws quickly escalate into full structural collapses. Addressing these vulnerabilities before the ground freezes solid ensures your boundary stays resilient until spring.
Why pre-winter fence maintenance matters?
Winter conditions subject outdoor structures to intense physical stress. The primary culprit behind cold-weather deterioration is the continuous freeze-thaw cycle. Autumn rains saturate porous materials, filling tiny cracks within wood grains, concrete footings, and joint connections. When the temperature drops below freezing, that trapped moisture expands by roughly nine percent. This internal pressure widens hairline fractures, loosens embedded fasteners, and breaks down the adhesive cellular structure of the timber. When the weather briefly warms and the ice melts, deeper voids are left behind, ready to absorb even more moisture during the next storm.
Beyond moisture expansion, winter brings severe mechanical forces. Sustained gusts and sudden gales exert massive lateral pressure against wide fence sections. If a post is slightly compromised or a rail connection is loose, strong winds can snap structural members or topple entire runs like dominoes. Layer on hundreds of pounds of drifted snow, and an already stressed structure easily reaches its breaking point. Proactive repairs in mild fall weather cost a fraction of emergency post replacements in frozen soil, saving both substantial effort and maintenance budget.
How to identify rot and structural weakness in fence posts?
Every reliable fence depends entirely on the stability of its vertical uprights. Because posts sit directly in the damp earth or encased in moisture-trapping concrete, they are inherently vulnerable to decay. To troubleshoot uprights effectively, start by clearing away fallen leaves, organic mulch, and soil buildup around the base of every single post. Rot thrives in dark, damp environments where soil directly contacts untreated timber.
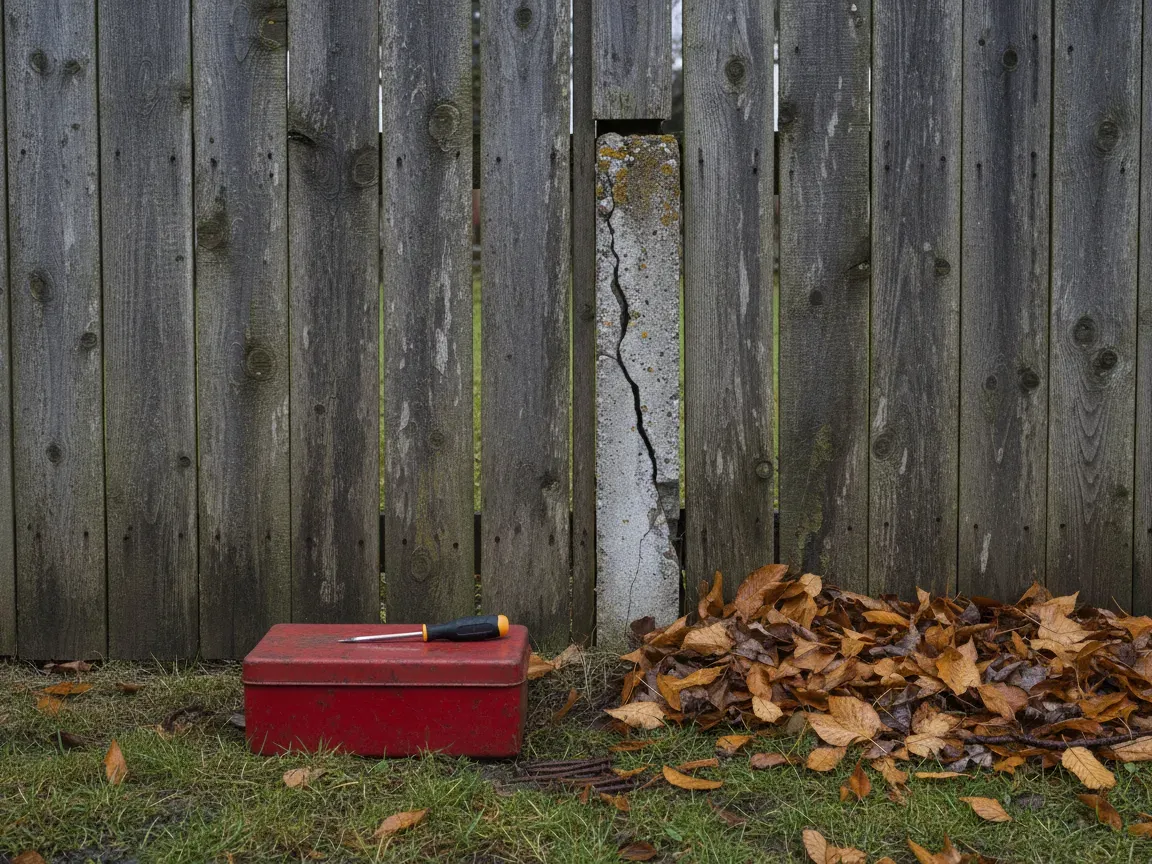
Begin your structural assessment with a physical stability test. Firmly grip the top half of each post and apply moderate back-and-forth pressure. A sound post should feel rigid, transferring minimal sway through the attached rails. If you feel noticeable play beneath the ground line, the underground footing may have cracked, or the buried wood has likely rotted away. Next, take a long screwdriver or an awl and firmly press the tip into the timber right at the soil line, extending a couple of inches below the surface. If the metal sinks effortlessly into spongy, soft fibers, dry rot or wet rot has compromised the core integrity of the post.
Inspect the concrete footings surrounding the posts as well. Cracking in concrete collars allows pooling water to sit against the wood, accelerating decay beneath the surface. If you identify a post with minor surface softness, you can sometimes sister a steel repair spur alongside the concrete base to restore lateral support. However, if the timber core is hollowed out or broken beneath the surface, removing the post and setting a new pressure-treated timber upright into fresh gravel and rapid-setting concrete before the ground freezes is the only dependable solution.
Fixing loose fasteners and sagging gates
Thermal contraction causes metal hardware to shrink slightly in freezing weather, while timber continually swells and contracts with shifting humidity levels. Over several seasons, this dynamic loosens nails, brackets, and heavy hinges. Walk along your fence line with a hammer and a cordless drill, inspecting the structural rails where they connect to the posts. Replace rusted, pulling nails with exterior-grade, coated deck screws. Screws provide superior tensile pullout resistance, keeping horizontal stringers tightly pulled against the vertical posts even when shifting snow packs against them.
Garden gates require focused attention because their moving parts take significant abuse throughout the year. A sagging gate that drags along the grass or scrapes against its latch post during autumn will quickly freeze completely shut or break under snow cover. Inspect the corner joints of the gate frame to verify they form precise right angles. Over time, gravity pulls the unhinged corner downward, racking the rectangular frame into a parallelogram.
To correct gate sag, you can install an adjustable turnbuckle anti-sag cable kit running diagonally from the top hinge corner down to the opposite bottom corner. Tightening the center turnbuckle gently lifts the latch side back into alignment. Additionally, check all hinge bolts for stripped holes. If a hinge screw spins freely without biting into the post, remove it, pack the stripped hole with wood glue and wooden dowel slivers, and drive in a longer, heavy-duty stainless or coated fastener. Finish by lubricating all moving latches and hinges with a weather-resistant silicone spray to prevent ice from seizing the mechanism.
Treating damaged wood and cracked lap panels
Individual infill sections endure the brunt of direct precipitation and UV exposure, leaving the surface parched and prone to splitting. Pay close attention to your perimeter boarding, especially if you have traditional lap panels that rely on overlapping horizontal slats to deflect rain. Inspect these sections for warped laths, splits along fastener lines, or cracked capping rails that permit water to seep directly into the vulnerable end grain.
For localized hairline cracks in individual boards, clean out any built-up dirt and debris using a stiff bristle brush. Force exterior-rated waterproof wood glue or flexible exterior timber sealant into the fissures, clamping the split edges together until fully cured. If individual slats on prefabricated sections are badly bowed, splintered, or detached, secure them back to the vertical battens using short, galvanized ring-shank nails or weather-resistant screws. Replacing a single cracked batten or securing a loose slat now prevents high winter winds from catching underneath the timber and tearing the whole sheet away.
Once physical repairs are complete, evaluate the protective finish. Splash a few drops of clean water onto various points of the timber. If the water beads tightly on the surface, the existing sealant remains effective. If the liquid soaks immediately into the wood, leaving a dark wet patch, the timber fibers are completely unprotected. Choose a dry autumn afternoon with temperatures above 50 degrees Fahrenheit to apply a generous coat of penetrating, oil-based exterior wood stain or water-repellent preservative. Treating the entire surface shields the structure from pervasive winter dampness and inhibits biological growth.
Protecting your boundary barrier against heavy snow load
While direct repairs correct existing wear, taking preventative steps against winter weather extremes keeps newly restored components in top shape. The physical weight of accumulated snow can bend horizontal rails, push vertical posts out of plumb, and cause structural sagging across wide spans. Snow plows, snow blowers, and municipal street equipment present a frequent hazard to roadside boundary fences, throwing heavy slush and corrosive road salts against lower slats.
Start by trimming back overhanging tree branches located directly above your fence line. Snow and freezing rain gather on dead or weak limbs, adding immense weight that causes heavy branches to snap and crush everything below. Pruning these limbs eliminates an expensive winter emergency. Next, inspect the gap beneath the bottom of your fence boards. If soil, mulch, or low-lying landscape vegetation directly touches the bottom edge of the pickets, clear a clean two-inch buffer zone along the entire perimeter. Maintaining this air space prevents wicking moisture from soaking upward into the grain and allows melting snow to run off freely without pooling against structural framing.
When clearing pathways and driveways during the winter months, avoid piling heavy snowbanks directly against fence panels. Even a sturdy fence will lean or warp if subjected to the constant lateral load of dense, compacted snow drifts. Furthermore, if your fence borders a salted sidewalk or driveway, apply an extra barrier coat of protective sealant along the lower foot of the structure to prevent salt crystallization from corroding metal fasteners and chemically deteriorating the wood fibers.
Preparing your yard for a hassle-free spring
Taking time to thoroughly inspect posts, realign sagging gates, and apply moisture-resistant finishes before freezing temperatures set in transforms a vulnerable boundary into a durable barrier. Simple troubleshooting steps completed during autumn eliminate the headache of dealing with emergency structural repairs in the freezing cold.
By staying ahead of routine maintenance, you protect your property boundary, maintain your home’s curb appeal, and extend the functional lifespan of your outdoor installations by years. A secure perimeter provides absolute peace of mind, allowing you to head into the winter season confident that your outdoor spaces are fully protected.