Few home maintenance issues are quite as irritating as an LED strip that buzzes, flickers, or randomly strobes in the middle of an evening. Whether installed under kitchen cabinets, behind home theater setups, or along crown molding, modern strip lighting is designed to offer clean, continuous illumination. However, when the diodes begin to pulse erratically, many homeowners immediately assume they bought defective tape or that an entire run has failed.
In reality, fragile diodes are rarely the culprit behind intermittent flashing. The true roots of strip lighting instability almost always trace back to physical connections, electrical load limits, and conductors that struggle to carry adequate current. By stepping through the electrical path from your power supply to the final diode, you can systematically uncover the weak points and restore a steady, reliable glow across your entire living space.
Why do LED strips flicker unexpectedly?
LEDs operate on low-voltage direct current, which means they react immediately to minuscule fluctuations in electrical input. Unlike traditional incandescent bulbs, which contain a hot filament that retains heat and masks brief interruptions, solid-state diodes shut off the microsecond current drops below their forward operating voltage. What your eyes register as a rapid strobe or subtle flicker is actually the rapid cycling of power through the circuit.
This behavior is generally triggered by three interconnected factors: mechanical instability, electrical impedance, and overloaded power delivery. When a connector loses contact for even a fraction of a millisecond, the circuit opens and the lights blink. Similarly, when a driver cannot supply consistent amperage under dynamic load, the output voltage sags, leading to rhythmic pulsating. Diagnosing the issue begins with identifying whether the flicker happens across the entire installation or only along a specific downstream section.
Common wiring mistakes that ruin connection stability
During a weekend installation, it is easy to treat low-voltage wiring casually. Because 12V and 24V circuits do not present the same acute shock hazard as mains wiring, DIY enthusiasts often make compromises that introduce severe electrical resistance. One of the most prevalent errors is utilizing undersized wire gauges to bridge gaps between cabinets or run leads back to the driver.
Thin conductors act as natural resistors. When current flows through an undersized wire, a portion of that energy converts into waste heat rather than reaching the diodes. Investing in dedicated LED cables with proper copper cross-sections ensures that current travels efficiently without generating an artificial bottleneck. Using scrap telephone wire or lightweight speaker wire might light a couple of test LEDs on the workbench, but over several feet, that resistance causes unpredictable voltage sags and noticeable flickering.
Another frequent mistake involves poor mechanical splicing. Twisting bare conductors together and capping them with loose wire nuts or wrapping them in vinyl tape creates a high-resistance joint vulnerable to room temperature shifts. As the surrounding air warms and cools, thermal expansion pushes microscopic contact points apart, turning a seemingly working splice into a flickering joint weeks after installation.
How poor connectors create intermittent power loss?
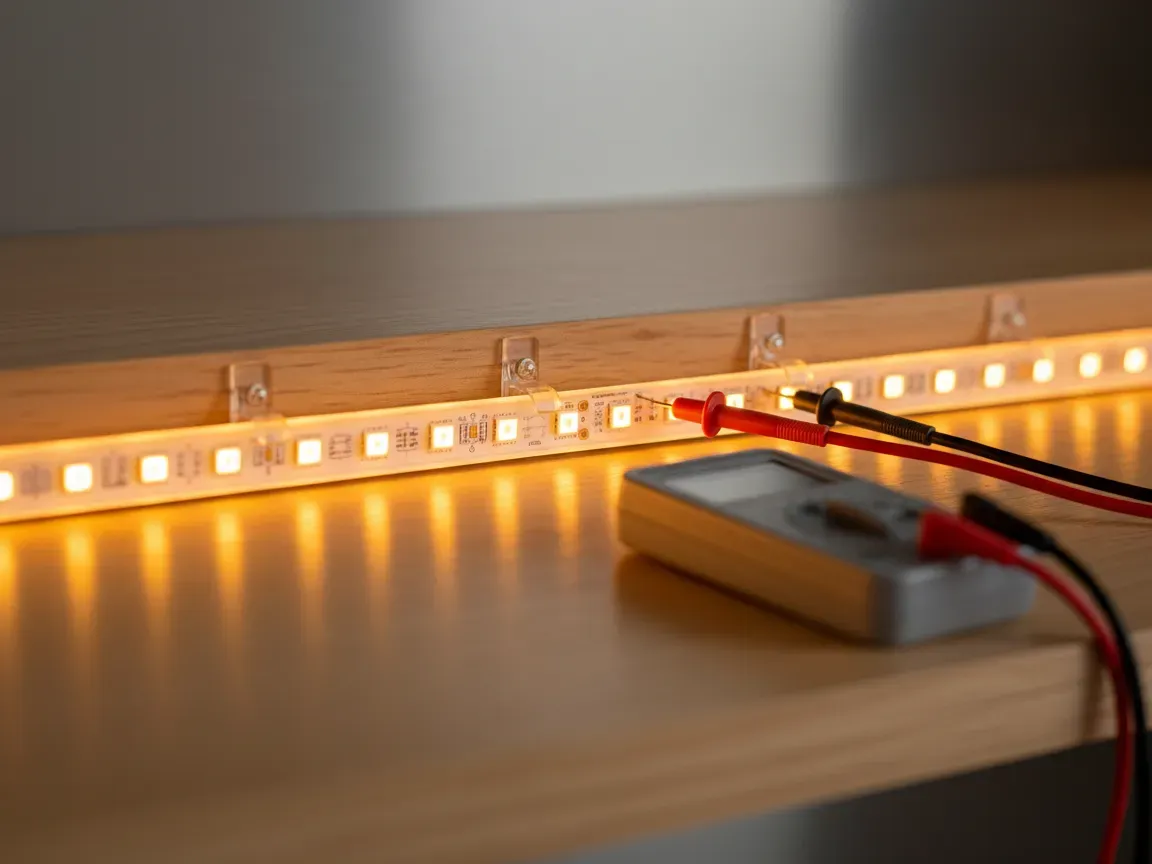
Clip-on, solderless plastic connectors have become the default choice for DIY projects because they eliminate the need to handle a soldering iron. Unfortunately, they also represent the single most common failure point in residential LED installations. These connectors rely on tiny metal prongs that pierce the strip cover or press downward against thin copper solder pads.
Over time, several factors undermine this mechanical contact:
- Uneven pressure: Cheap plastic clips can warp or lose their clamping tension, allowing the strip to shift slightly out of alignment.
- Pad misalignment: Copper pads on flexible printed circuit boards are often narrow. If the strip slides even a fraction of a millimeter, the metal prong rests on non-conductive substrate.
- Surface oxidation: Exposed copper pads naturally oxidize when exposed to ambient moisture, forming a resistive layer that disrupts low-voltage current transfer.
- Cable strain: Heavy extension leads hanging off lightweight clip connectors pull the prongs away from the strip surface whenever cabinet doors close or room vibrations occur.
If tapping or gently pressing a connector causes the strip to flash, turn off, or change color, the clip is not making solid physical contact. Stripping away the plastic clip, cleaning the copper contact points with isopropyl alcohol, and soldering permanent lead wires directly to the pads permanently eliminates this point of failure.
Voltage drop symptoms across long runs
Low-voltage direct current struggles over distance far more than alternating mains power. In a standard continuous run, current passes through thin copper traces embedded inside the flexible tape. Because these printed circuit traces have measurable internal resistance, voltage steadily decreases with every inch of tape the current traverses. This phenomenon is known as voltage drop.
When voltage drop becomes severe, the symptoms follow a distinct pattern. The beginning of the run closest to the power supply glows brightly and functions normally. As you move toward the far end, the light visibly dims. In color-changing strips, such as RGB or RGBW tape, voltage drop manifests as unwanted color shifting. Red diodes require less forward voltage than blue or green diodes; therefore, when voltage falls below the operating threshold of green and blue, the tail end of your white or cool light run shifts toward a dull pinkish-red.
Once voltage drops near the absolute minimum operational limit of the integrated control chips or diodes, the lights begin to flutter and strobe. The chips attempt to boot, pull current, cause a momentary voltage collapse, reset, and cycle repeatedly. If your flickering is concentrated entirely at the end of a run exceeding 16 feet on a 12V system, voltage drop is almost certainly the root cause.
Solutions to stabilize power delivery
Eliminating voltage drop and power starvation requires restructuring how energy enters the strip. Relying on a single feed point at the beginning of an extended run is rarely sufficient for high-output architectural lighting.
The most effective remedy is power injection. Instead of pushing current linearly through the strip from end to end, you run parallel feeder wires alongside the installation. These secondary lines tie directly back to the main power supply and tap into the strip every 10 to 16 feet, as well as at the very end of the line. Power injection keeps the voltage level uniform across the entire tape, preventing the diodes from dimming or strobing under heavy loads.
Additionally, upgrading your system architecture from 12V to 24V significantly mitigates distance-related losses. Because a 24V system requires half the amperage to deliver the identical wattage of a 12V system, resistance across the copper traces causes substantially less voltage drop over equivalent distances. When designing new layouts that span large perimeters, standardizing on 24V components saves significant troubleshooting effort.
Finally, verify that your power supply provides adequate headroom. Running an LED driver at 100 percent capacity produces thermal stress that can trigger internal safety cutouts, creating a rhythmic flashing where the whole strip turns on and off every few seconds. Always size your power driver so that total strip wattage consumes no more than 80 percent of the unit’s rated capacity.
How to keep your strip lighting running smoothly?
Long-term reliability begins with smart installation choices rather than quick cosmetic shortcuts. Securing your LED strips inside aluminum channels not only diffuses harsh hotspots to create an even glow, but it also serves as a critical heat sink. Excessive heat degrades diode life and weakens solder points, ultimately causing premature joint failure and flickering.
Protecting cables from physical movement is equally essential. In areas like kitchens and workshops, regular vibrations from closing drawers, foot traffic, or nearby appliances will slowly loosen delicate connections. Fastening feeder wires with adhesive clips and providing strain relief near every junction prevents mechanical tension from transferring directly to fragile solder pads.
Routine maintenance involves inspecting your runs for signs of thermal discoloration or adhesive sag. By treating your low-voltage strips as an integrated electrical system rather than disposable tape, you ensure stable, flicker-free illumination that enhances your living space for years to come.
Achieving lasting reliability in residential low voltage lighting
Stable strip lighting depends on treating low-voltage installations with the same precision and mechanical care as standard mains wiring. When you replace fragile push-fit connectors with soldered joints, calculate wire gauges properly, and inject power across long distances, persistent flickering and strange color shifts disappear. Solid physical contact and adequate conductor sizing ensure that your drivers can supply clean, continuous direct current without unexpected resistance.
Taking the time to diagnose electrical issues systematically transforms an unreliable accent light into a durable home feature. Instead of replacing entire fixtures at the first sign of a strobe, inspecting joints and balancing voltage delivers dependable performance that keeps your spaces bright and comfortable.